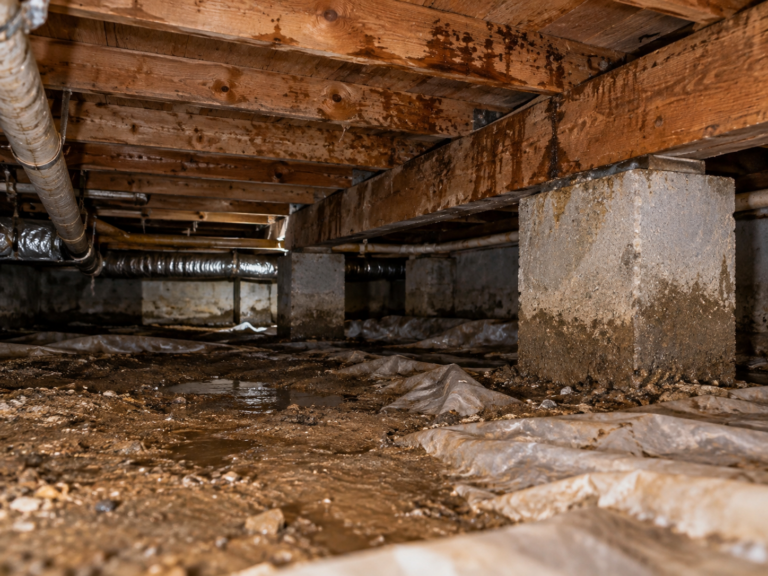
Musty odors or damp air
A musty smell or clammy air can signal excess humidity, even without puddles.

Moisture beneath your home deserves a carefully planned solution. B‑Dry evaluates water intrusion, ground vapor and humid air, then recommends the appropriate combination of vapor barriers, drainage, insulation and dehumidification.
Water intrusion, ground vapor and humid air need different solutions. We identify which ones affect your crawlspace before recommending the right work.
Look for these three signs. We trace the cause to water intrusion, ground vapor or humid air.
A musty smell or clammy air can signal excess humidity, even without puddles.
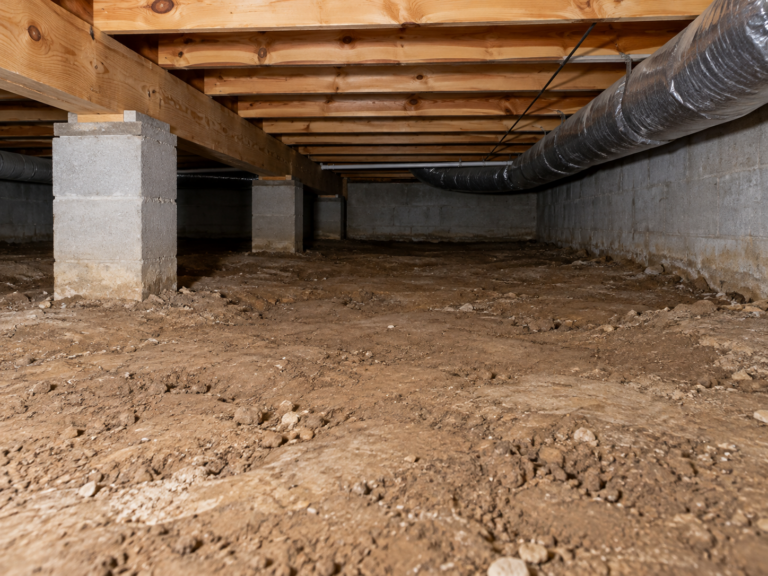
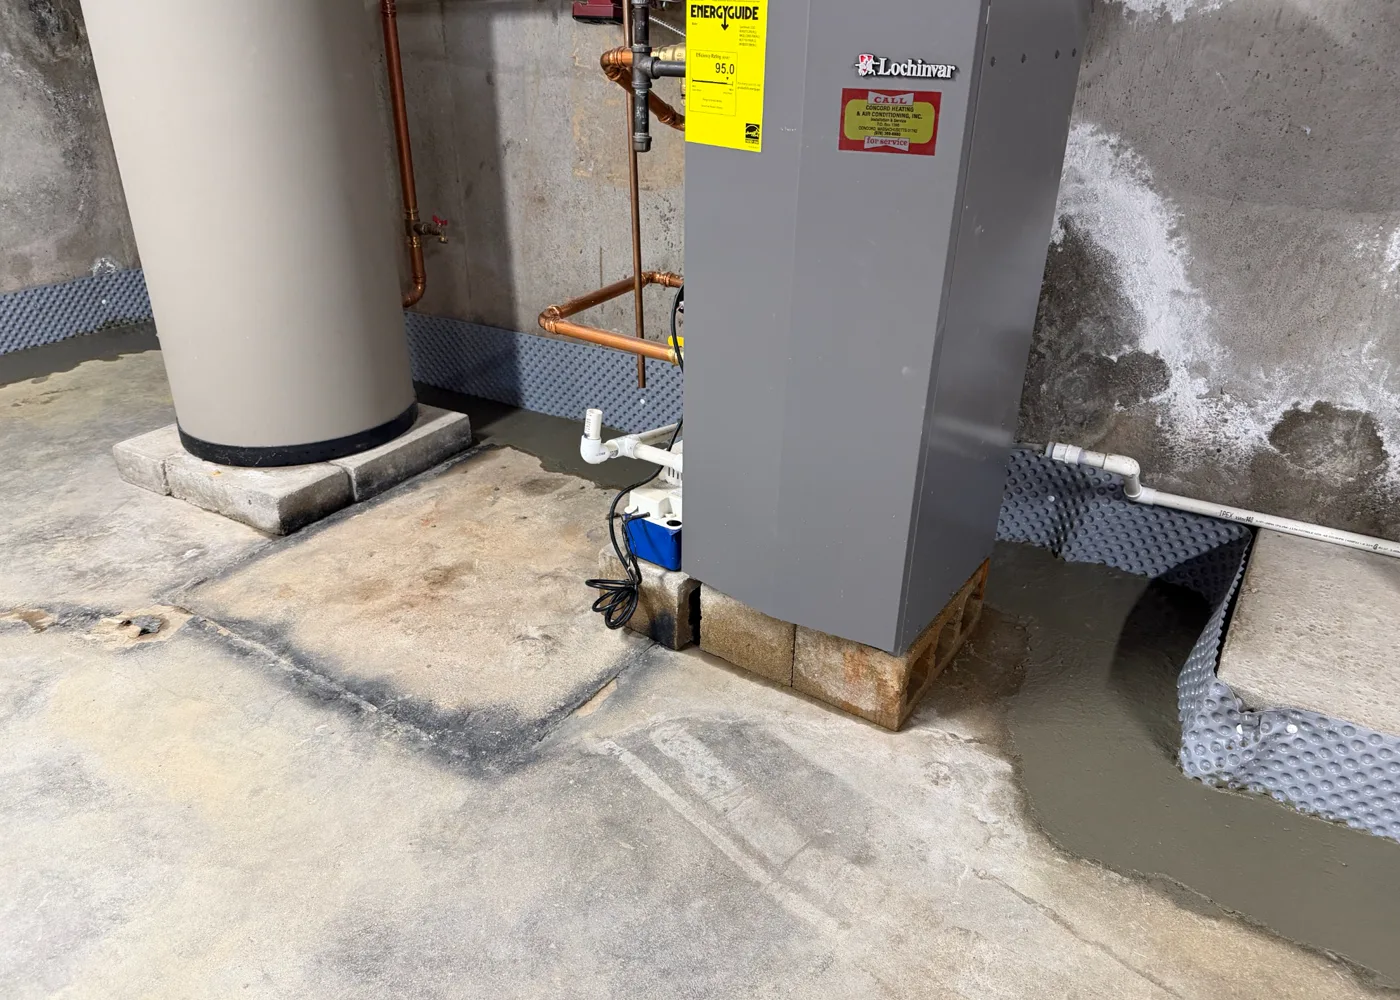
Bare soil, tears and open seams let moisture rise into the crawlspace.
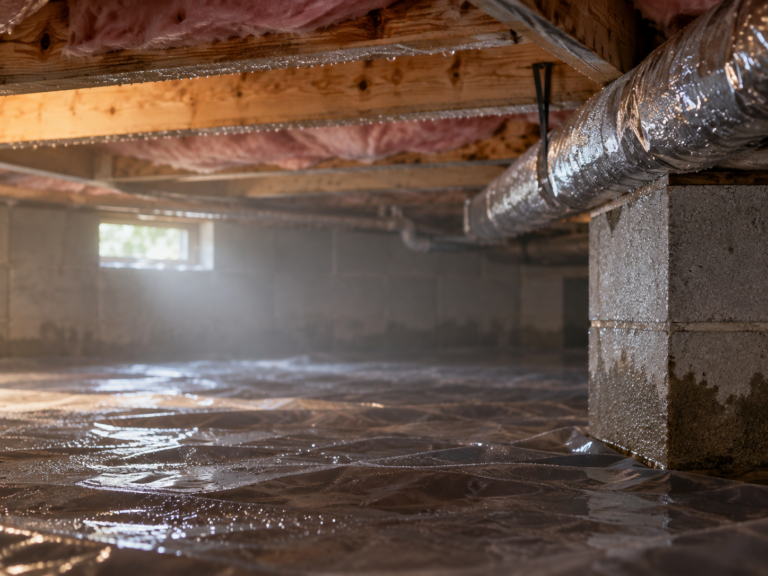
Sagging insulation or droplets on ducts and pipes mean moisture needs attention.
We inspect the crawlspace and recommend the work that addresses your three potential moisture sources:
We explain what your home needs, what is optional and how the components work together.
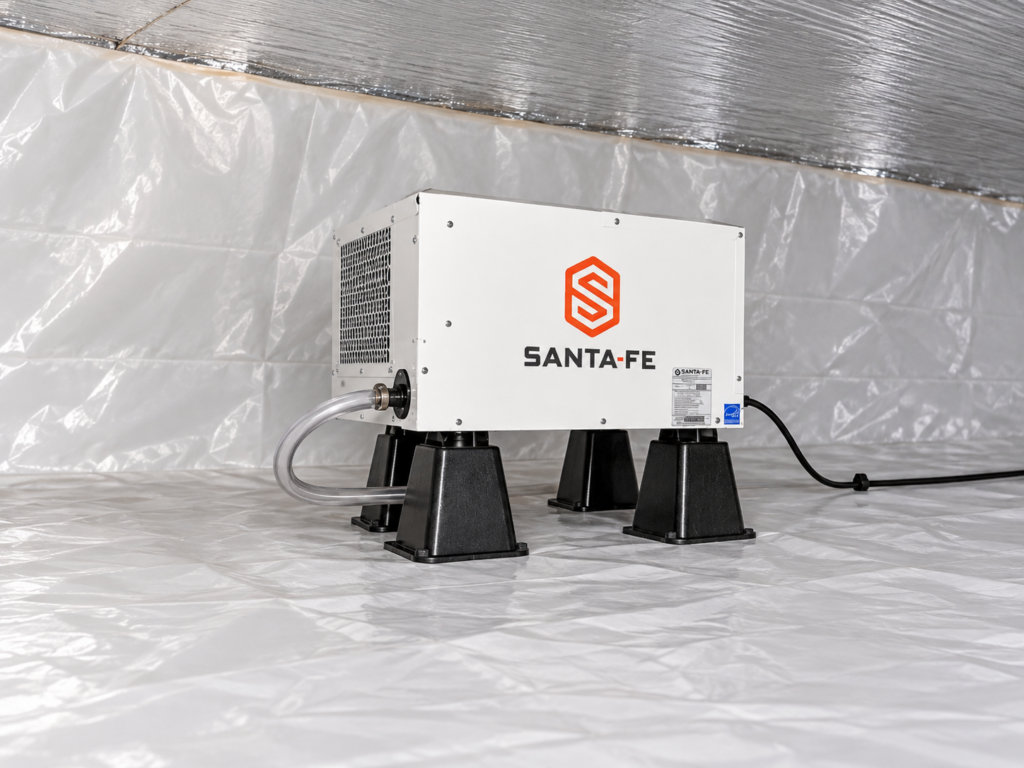
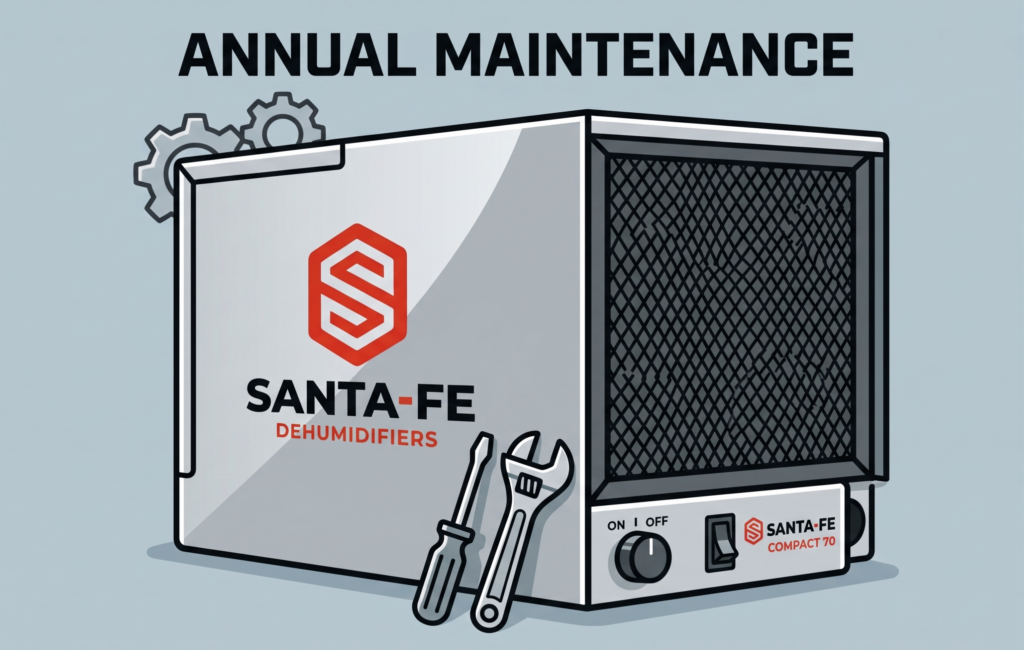
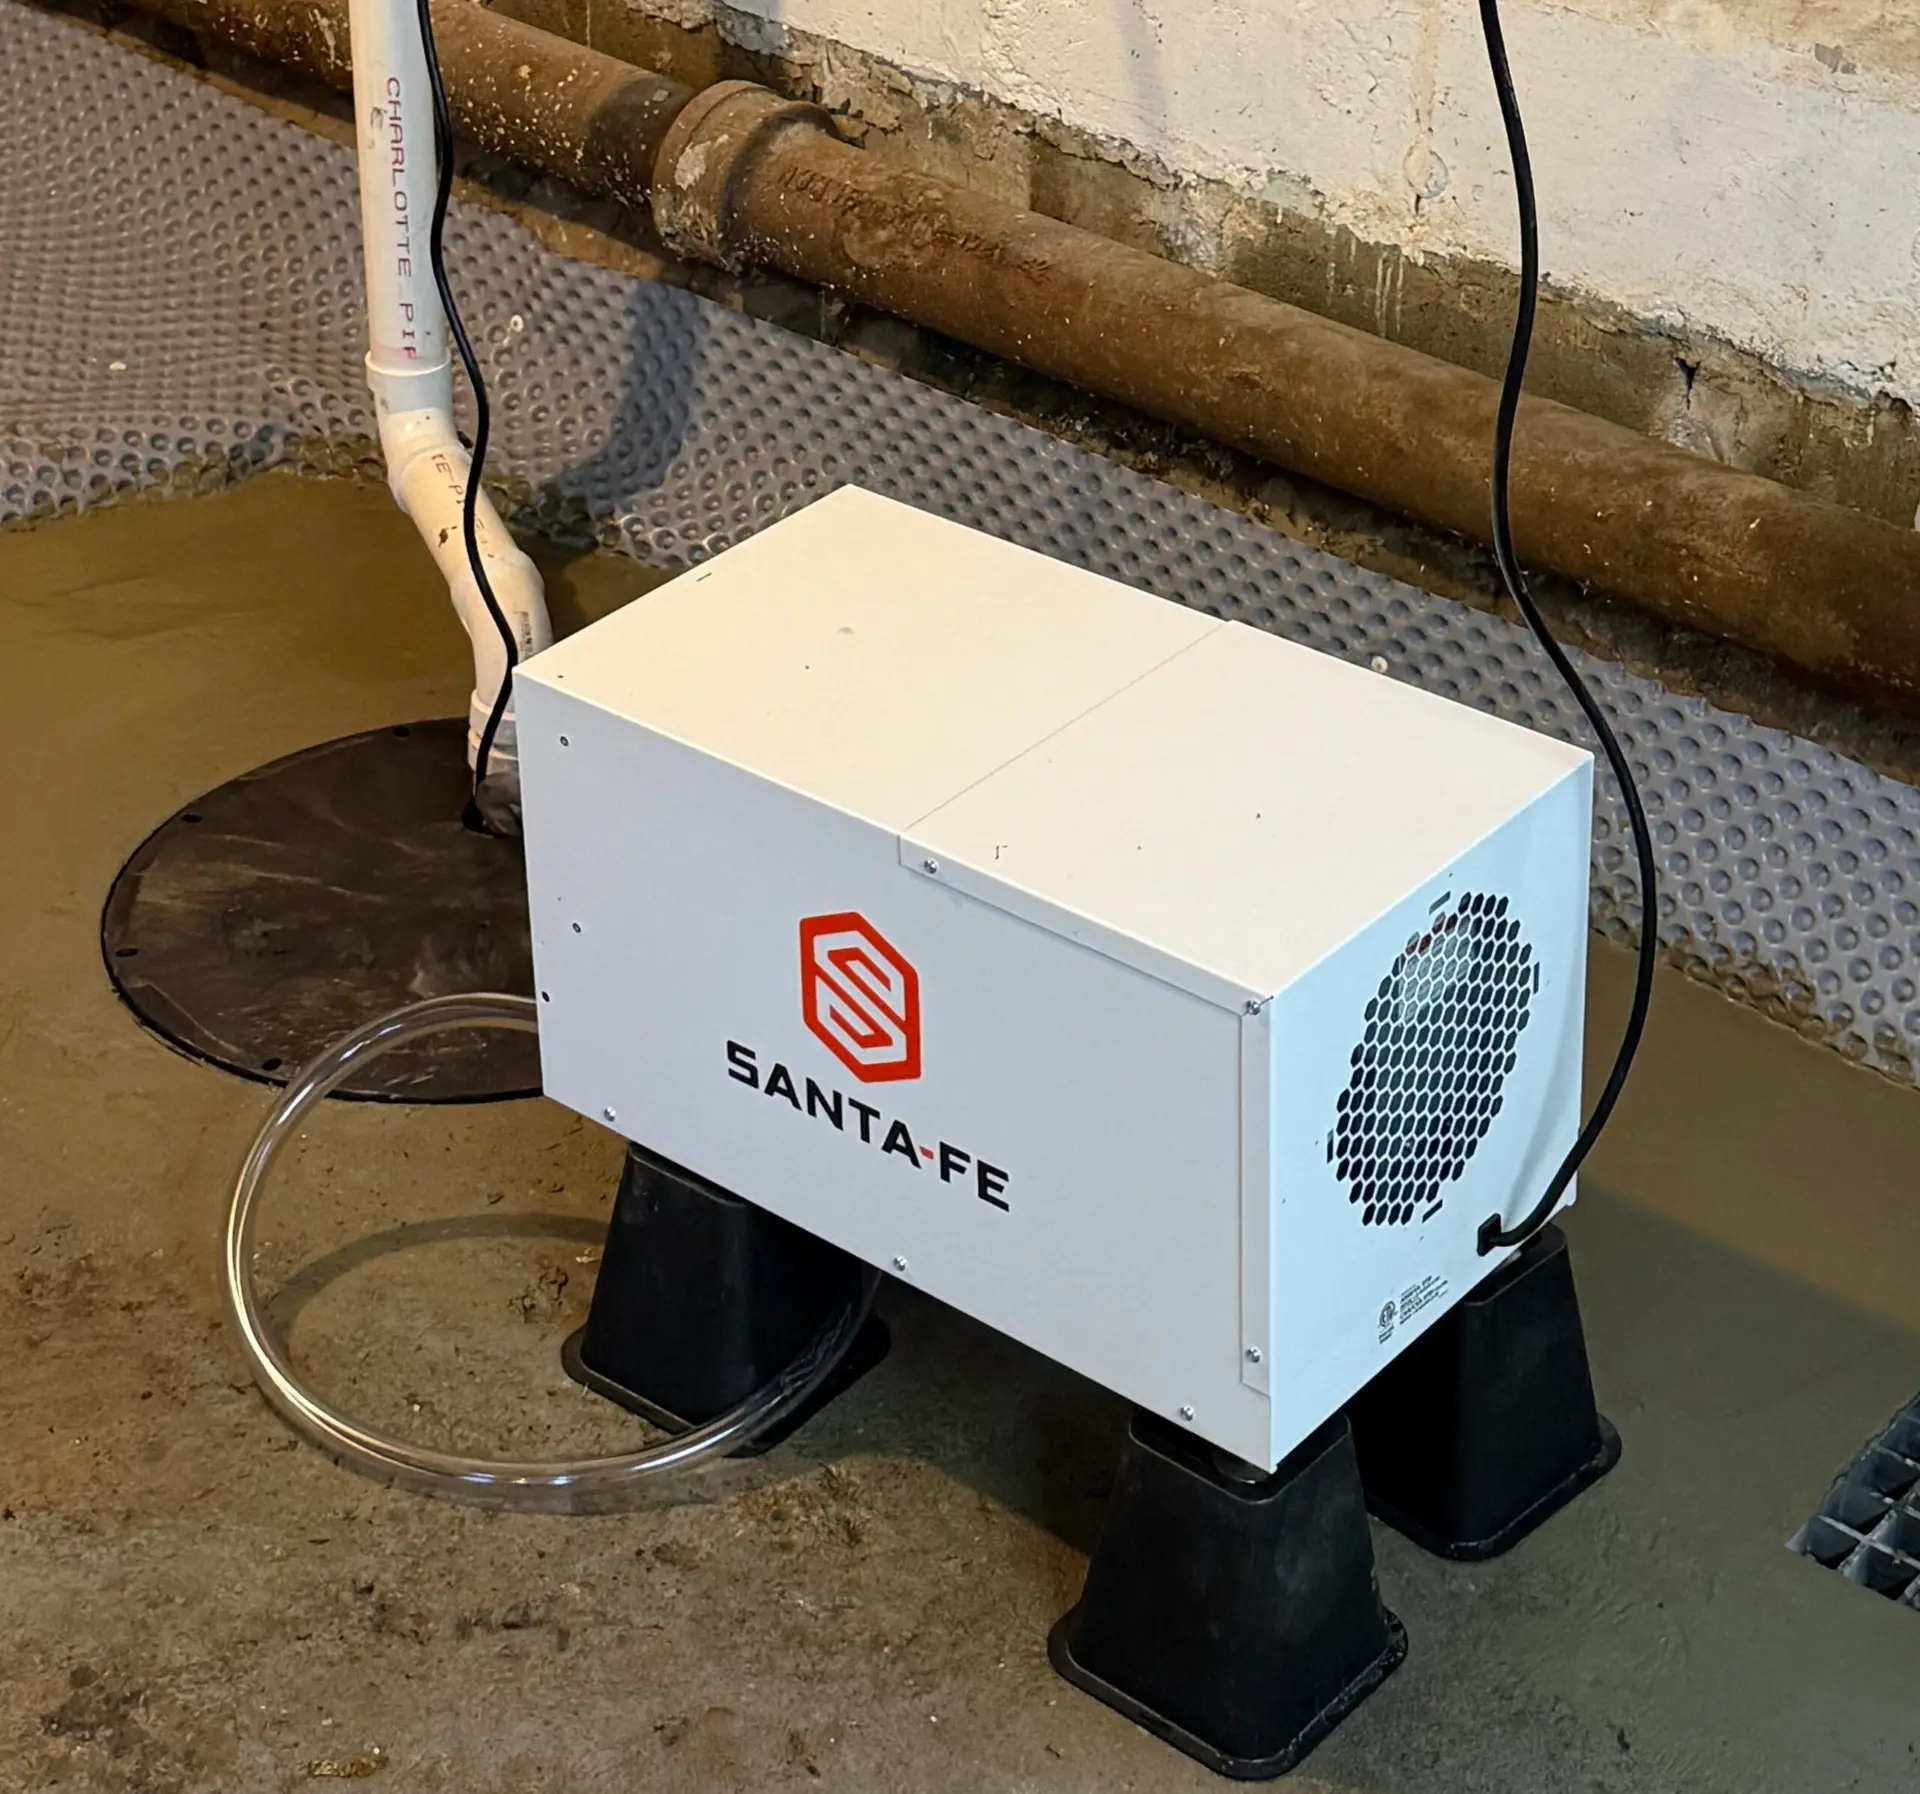
A clogged filter or restricted drain can reduce performance. Annual maintenance service is available for the Santa-Fe units we install.
Equipment checks include accessible components, filter replacement or cleaning as applicable, normal operation and visible service needs.
Protection for the installed liner, sealed seams and installation workmanship. Pumps and dehumidifiers carry separate warranties. Contact B-Dry for complete written terms.
Crawlspace encapsulation seals exposed ground with a durable vapor barrier and closes gaps that let damp outside air enter. The liner is sealed at seams, walls and piers. The goal is to control ground vapor and humid air. If groundwater enters, a drainage system addresses that water intrusion before the liner is installed. Insulation and dehumidification complete the system where needed.
No. A vapor barrier is one part of encapsulation. It covers the dirt floor to keep moisture in the ground from entering the crawlspace air. Full encapsulation also seals the liner at its seams, walls and piers and closes outside vents and other air leaks. Drainage is added if groundwater enters, insulation helps control temperature, and a dehumidifier is added when humidity stays too high. Simply laying plastic on the dirt is not full encapsulation.
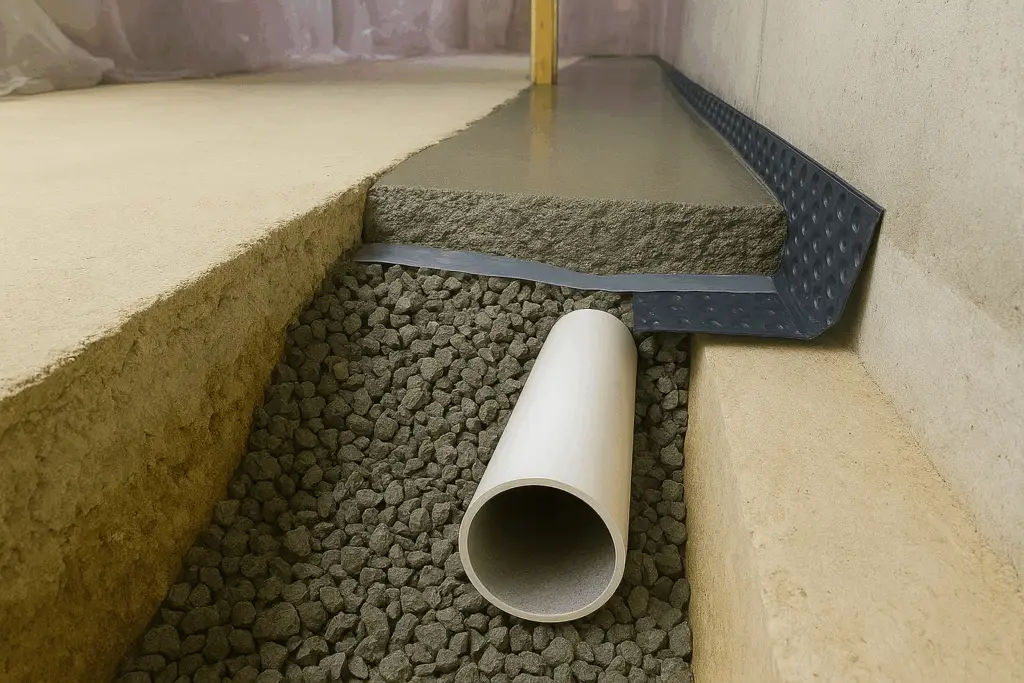
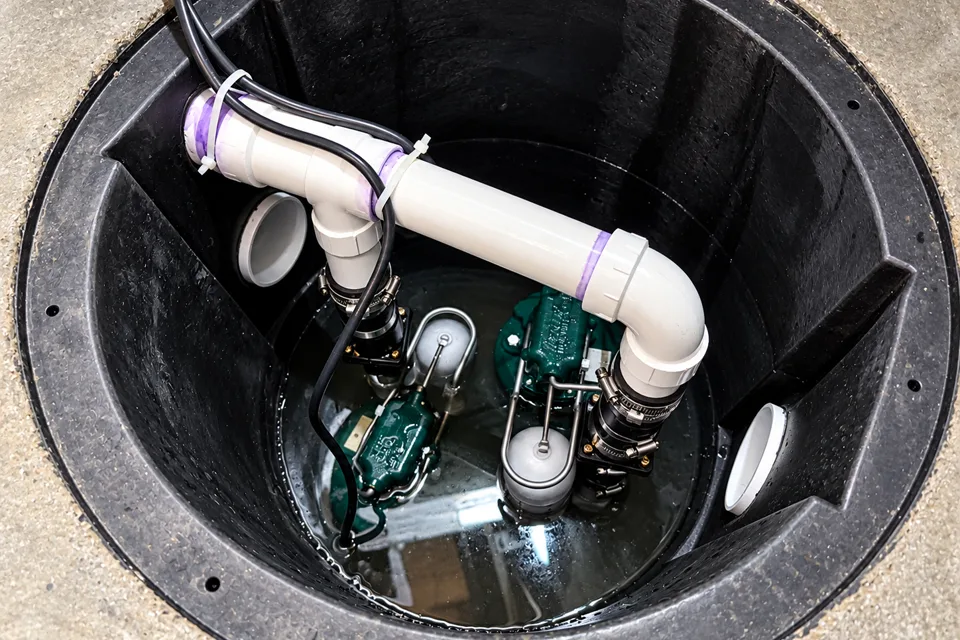
No. If groundwater is entering your crawlspace, a French drain system is typically needed before encapsulation. The drain collects incoming water and directs it to a sump pump for discharge outside. Once the groundwater is managed, the liner can be installed to keep moisture from the ground out of the crawlspace air. A plumbing leak or water running in from outside needs its own source corrected first.
We recommend a dehumidifier when crawlspace relative humidity consistently stays above 50%. If it stays at or below 50% without one and there are no ongoing moisture problems, a dehumidifier is generally unnecessary. Check with a humidity meter over several days, including warm, humid weather, rather than relying on a single reading. The EPA recommends keeping indoor humidity below 60%, ideally 30% to 50%. Our 50% recommendation uses the upper end of that ideal range. Read the EPA humidity guidance.
Vented crawlspace: insulate the floor above it. When outside vents remain open, insulation belongs between the floor joists, against the underside of the subfloor, with air leaks sealed.
Sealed and encapsulated crawlspace: generally insulate the foundation walls and rim joists instead. With vents and ground moisture sealed out, this approach helps keep the crawlspace, plumbing and ducts closer to indoor temperatures. Rigid foam board is a common wall-insulation option. Wet or damaged insulation should be removed, and the source of the moisture corrected before replacement.
For an encapsulation project, we normally recommend the sealed, wall-insulated approach rather than adding fiberglass beneath the floor. Read the Department of Energy crawlspace guidance.
For an initial budget, allow approximately $5,000 to $15,000 for professional crawlspace encapsulation. A small, straightforward space may cost around $3,000 to $5,000. Larger projects needing substantial cleanup, insulation, French drains, a sump pump and dehumidification can reach $15,000 to $25,000 or more.
These are planning ranges, not a fixed quote. The main cost differences are the size and accessibility of the space and which components are needed. We provide a written price after inspecting your crawlspace.
Typical crawlspace encapsulation projects take 2 to 3 working days. Larger projects commonly take about 4 working days. Extensive cleanup, difficult access or installing a French drain and sump system can add time. We confirm the expected duration before scheduling your installation.
No. Moisture control is not a substitute for mold remediation or evaluation of substantial structural damage. Those conditions may need a qualified specialist and a separate scope.
A 25-year limited warranty covers the installed liner, sealed seams and installation workmanship, subject to the written terms. Pumps and dehumidifiers carry separate warranties. Contact B-Dry for complete coverage details.
Schedule a free crawlspace evaluation with B‑Dry. We’ll review water intrusion, ground vapor and humid air, then explain the right combination of moisture-control options for your home.